HS infoaid

"Success is not final; failure is not fatal: It is the courage to continue that counts." ― Winston S. Churchill


Follow @hsinfoaid Message Tweet


Powered by Google.


Our service is free, in return share our website in your contacts like families, friends, classmates, jobmates, etc. They would find it usefull too as like you.
Artist/user can upload their files here.
Use our file sharing website NOW!


Navigation Menu:


Android Apps   Blog   DIY Projects     Electronics   Online Tools   


Hi Bass Speaker Fix - Speaker Repair


Speaker DIY


⚠ Caution: You may harm yourself, get burns, electric shocks, if you don't know how to do soldering or by your carelessness.

Note: File download won't work if page translated. So, download file without translating this page.


Speaker DIY

Speaker DIY

Components we need to fix hi bass speaker:

1. Diaphragm + Surround ₹ 15
2. Voice Coil ₹ 10 - ₹ 30
3. Wire ₹ 5
4. Dust Cap ₹ 2
5. Glue (Adhesive) ₹ 10
* Cost may varies (for 4" speaker) Total: ₹ 42 - ₹ 62 (apx.)


Glue (Adhesive)
Glue (Adhesive)

Glue (Adhesive)
Glue (Adhesive)

Voice Coil
Voice Coil

Voice Coil
Voice Coil

Wire
Wire

Diaphragm (Cone) with surround (Front Suspension) - Front

Diaphragm (Cone) with surround (Front Suspension) - Back

Spider (Rear Suspension) - Front

Spider (Rear Suspension) - Back

Metal Frame - Front
Metal Frame - Front

Metal Frame - Back
Metal Frame - Back


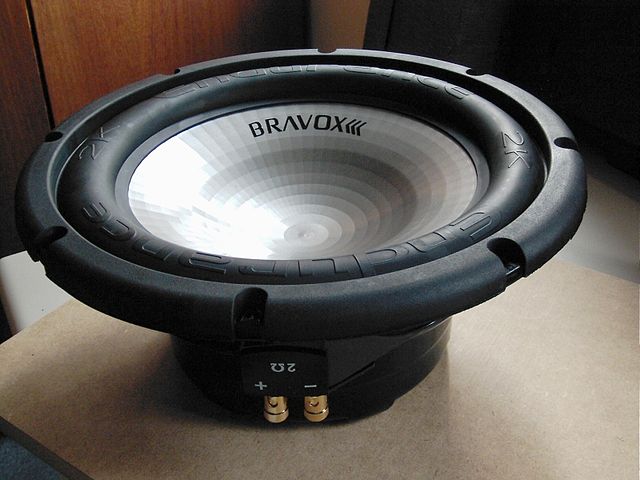
Before you start, you need to know speaker's physical part as shown in the diagrams below. After that you're good to go. You must be careful during cleaning and applying glue (adhesive).


Speaker Diagram 1
Speaker Diagram


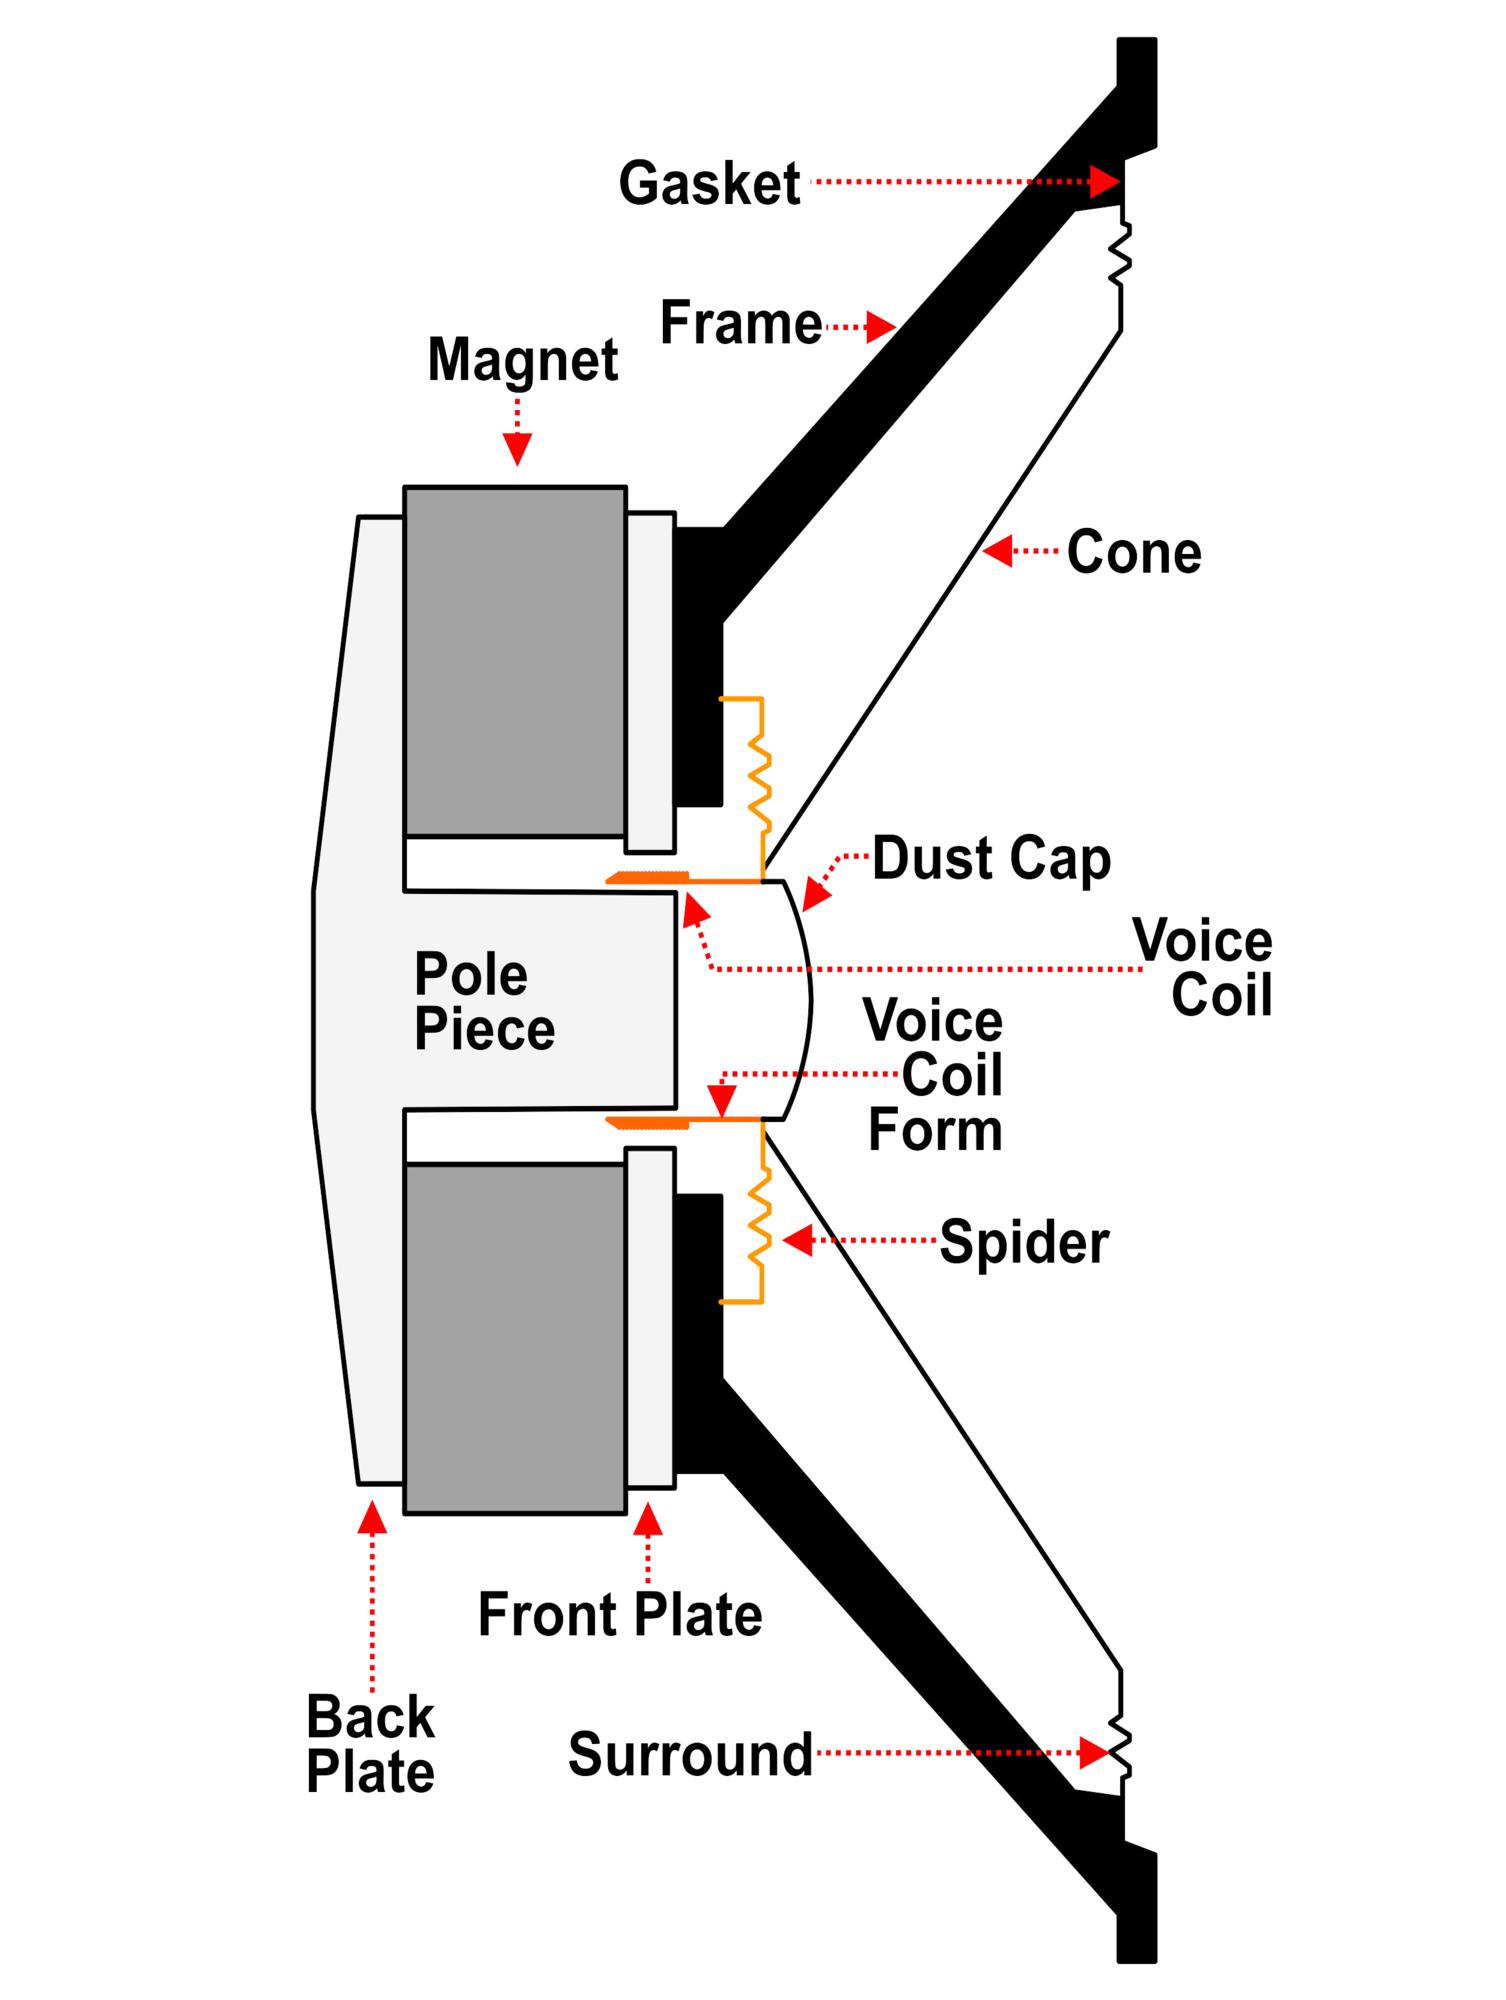
Step 1: Clean the metal frame carefully: firstly block the gapes between front metal plate and pole piece by tape to avoid anything to inter into gapes.
Step 2: Insert vioce coil into spider (rear ruspension) and apply glue (adhesive) between voice coil and spider (rear ruspension).
Step 3: Apply glue (adhesive) on matel frame and paste spider (rear ruspension) with voice coil on it
Step 4: Now again apply glue on voice coil, metal frame, diaphragm (cone) and surround (front suspension) and paste these together.
Step 5: Make two holes on diaphragm (cone) and solder up voice coil, wire and terminal. Apply glue on two holes properly.
Step 6: Leave the setup (speaker) to dry for at least a day.


Speaker DIY

Tap to view on YouTube.


For soldering you also need soldering iron, soldering wire, soldering paste (flux) and wire cutter. We assume that you know how to do soldering.


Note: While doing soldering be carefull...!

Posted on: 19 December 2021

If you stuck on any step just ask from us via your comments below.

< Back to DIY Projects


< Back to home

You may also like these:


Check out our videos at YouTube > @hsinfoaid.

DIY Projects


Comment your feedback, suggestion and request below.


Use our file sharing website NOW!
Upload your file and share it to your friends anywhere in the world.


1 Online User
Your browser: Mozilla/5.0
Your IP: 216.73.216.70
23 Visits

Disclaimer | Content Removal | DMCA
Thanks for visiting.........!
This page is delivered in 0.0028 second.
2022 - 2023 © HS infoaid


Polly po-cket